 Are you new to sewing or machine applique? We don’t want you to miss out on our dove or other applique projects. So we’ve collected these basic tips to walk you and your machine’s presser foot through your first steps. With these tips, start practicing on straight lines, then move on to corners and curves. Before you know it, you’ll be ready to fly. And so will that dove.
Want to know when we post new patterns and projects? Follow the blog (in the side column).
Thread: To get the smoothest look use thread made for machine embroidery. But regular polyester or poly/cotton blend thread also works well and can be especially useful it you want to create a rustic look.
 Stitch width: Set the stitch width to a medium or wide zigzag.
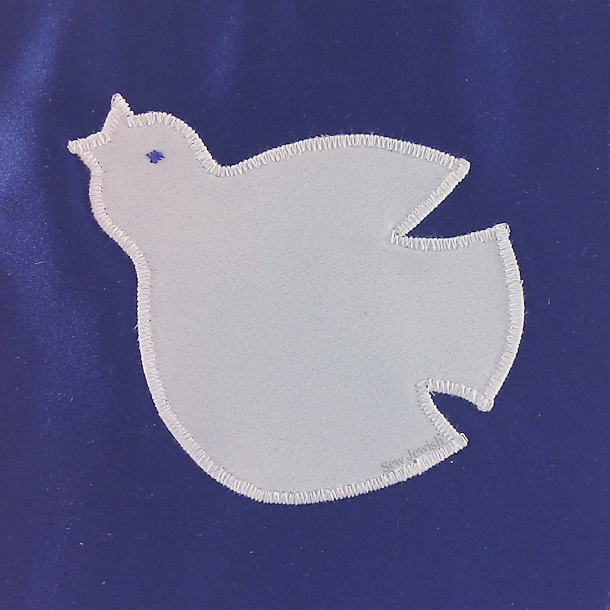
Stitch length: The stitch length should be fairly low, but you can vary it based on the effect you want to create. The stitch length shown in the photo of the green and blue applique at the top of the post creates a country or rustic look, while the effect produced by closer, satin stitches pictured on the white/blue applique at right is more smooth.

Stitch position: The outer edge of the stitches should lie in the background fabric just along the edge of the applique. Don’t center the stitches on the edge of the applique.
Beginning and ending: Start by taking several straight stitches backwards. Finish with a few straight backward stitches that lie close to the zigzag stitches.
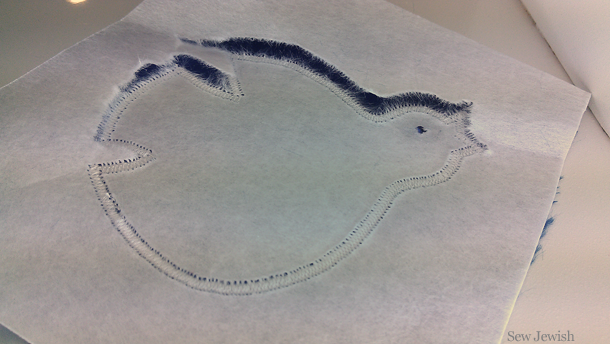 Stabilizer: Before you start sewing, layer a piece of stabilizer under the fabrics to keep the fabric from puckering under the stitches. Some stabilizers can be cut away after you’re done sewing and others can be torn away, as in the photo on the right.
Now you’re ready for top tips for navigating corners and curves. Want to download the dove pattern? Find it here.
Want to know when we post new patterns and projects? Follow the blog (in the side column).
