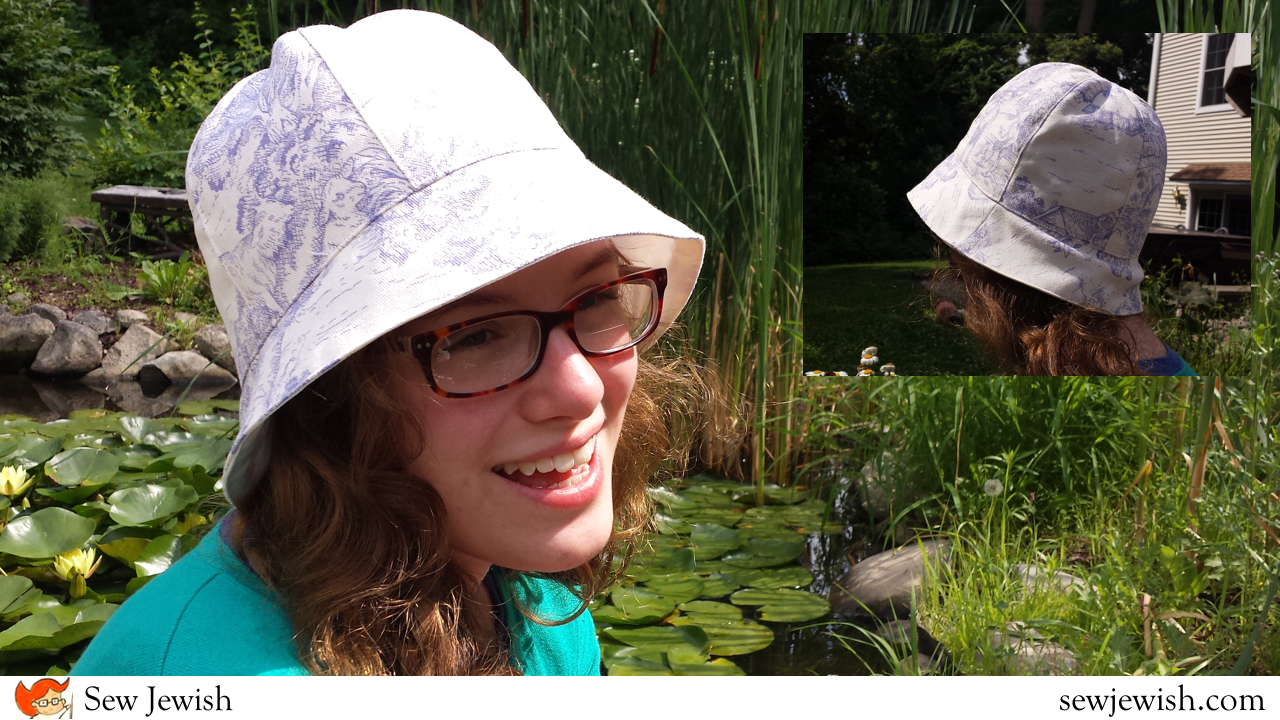
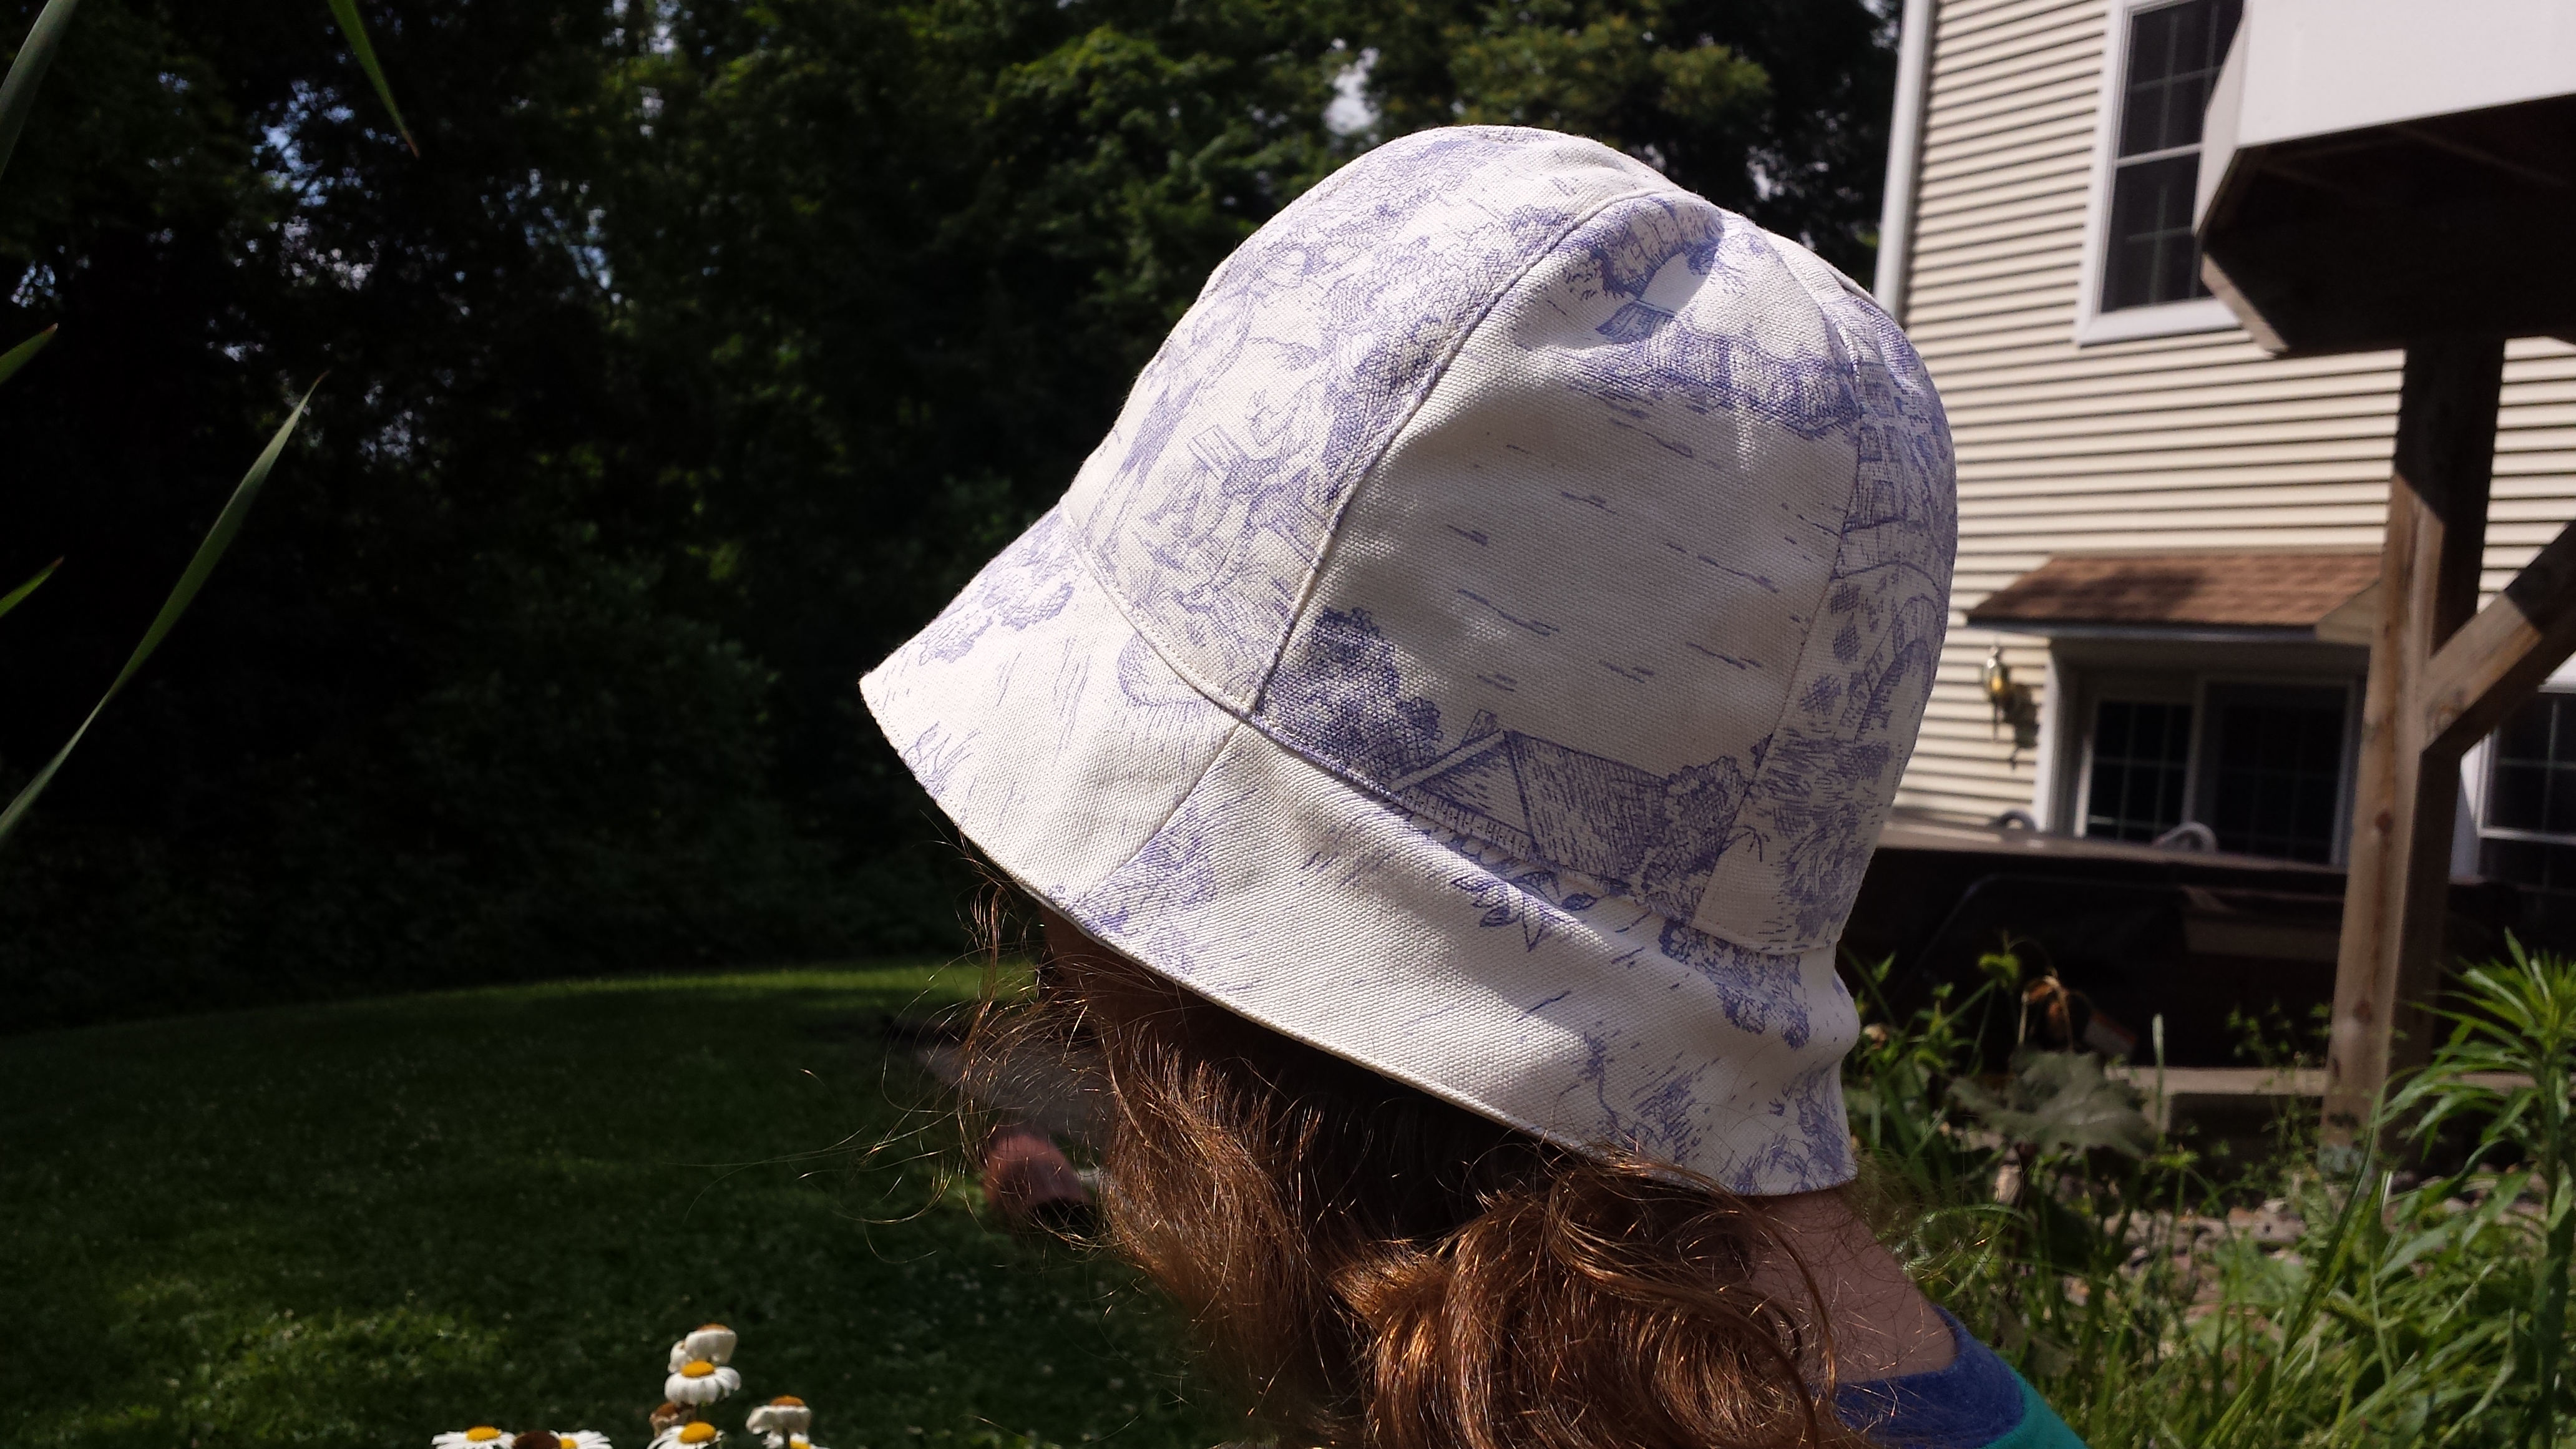
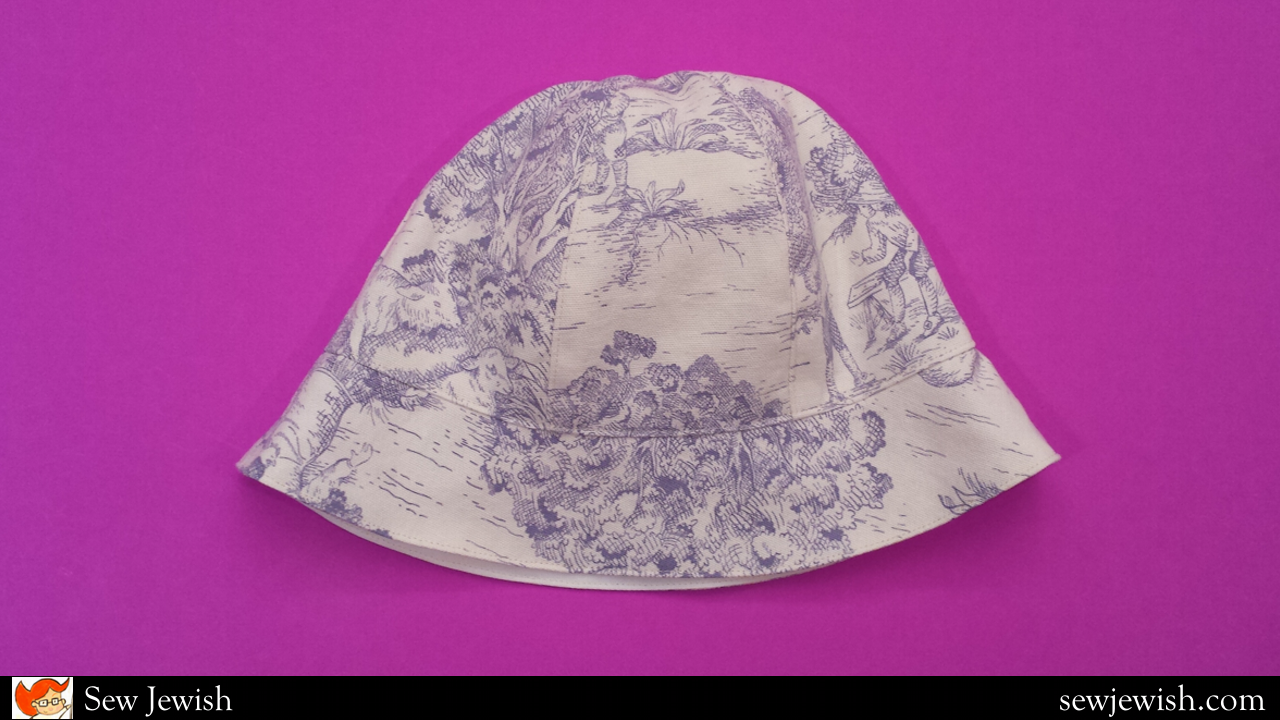
Does the sunny weather put you in the mood for a new summer hat like it does us? Then we have a free printable pattern for you. This hat looks super cute in the summer sun, and it’s also synagogue worthy when you sew it up in a classically formal print like a chintzy floral or this toile. To really send the adorable factor over the top, add a purchased flower pin.
By design, it’s a floppy topper, but you can give it more body by using a heavy/stiff fabric or adding a layer of interfacing to the backs of the hat pieces before sewing them together.
Want to know when we post new patterns? Follow the blog (see the side column).
Materials
– Hat: 1/4 yard (30 cm) of woven fabric at least 45″ (137 cm) wide.
– Lining: 1/4 yard (30 cm) of woven fabric at least (137 cm) 45″ wide.
– Thread
Instructions
Pattern and Cutting
Print the free Super Cute Hat Pattern SJ5763 (PDF format).
Tips for Adjusting the Size: The circumference of the hat is 23 1/4″ (59cm). You can adjust the size by enlarging or reducing the size of the pattern when you print it. Keep in mind that the Crown pattern piece is repeated six times, so enlarging the Crown pattern by 1/8″ (6mm) will increase the final circumference of the hat by 6/8″ — or 3/4″ (1.8cm). When sewing the brim pieces together, adjust the width of the seam allowance to fit the brim to the crown.
From the hat fabric, cut 6 copies of the Crown and 2 copies of the Brim.
From the lining, cut 6 copies of the Crown and 2 copies of the Brim.
Sewing
Hat
Important: Use a 1/2″ (1 cm) seam allowance throughout.
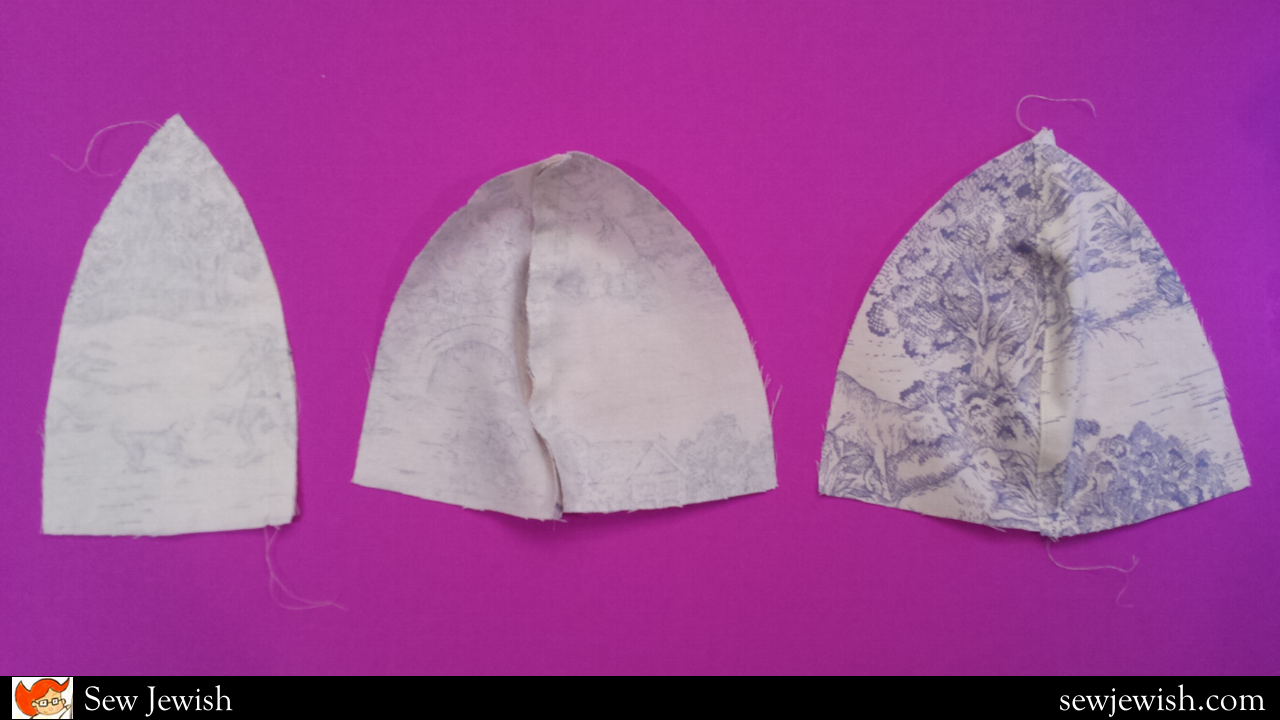
With right sides together, sew two Crown pieces together along one long edge. Press the seam allowance to the left of the seam. Turn the fabric over, and on the right side of the fabric, sew the seam allowance to the hat 1/8″ (6mm) from the seam. (Top stitching the seams in this way will help give the hat a bit of structure.)

With right sides together, sew a third Crown piece to the first two pieces. Finish the seam as before.
Sew the remaining three Crown pieces together in the same way.
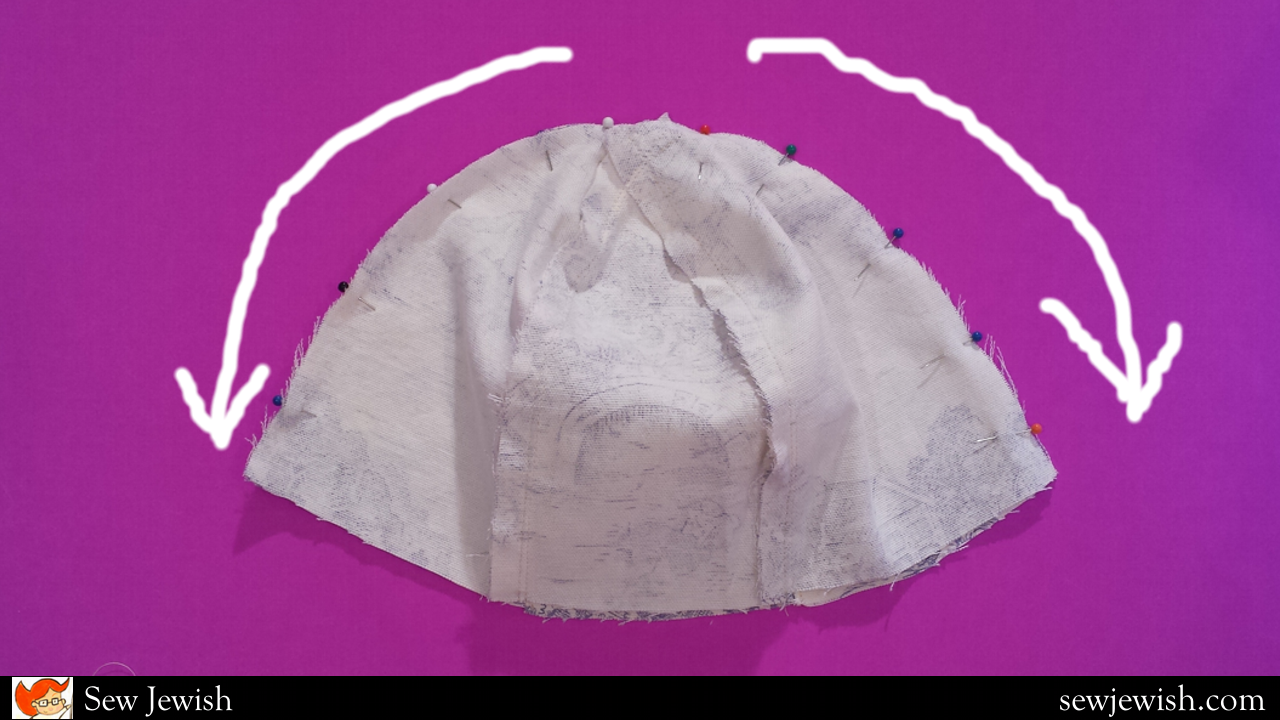
With right sides together, pin the two halves of the Crown together along the long edge. Sew, starting in the middle of the long edge and sewing toward the outer edge. Sew the other half of the seam, again starting in the middle of the long edge and sewing toward the outer edge. Press the seam allowance to one side and finish the seam as before.
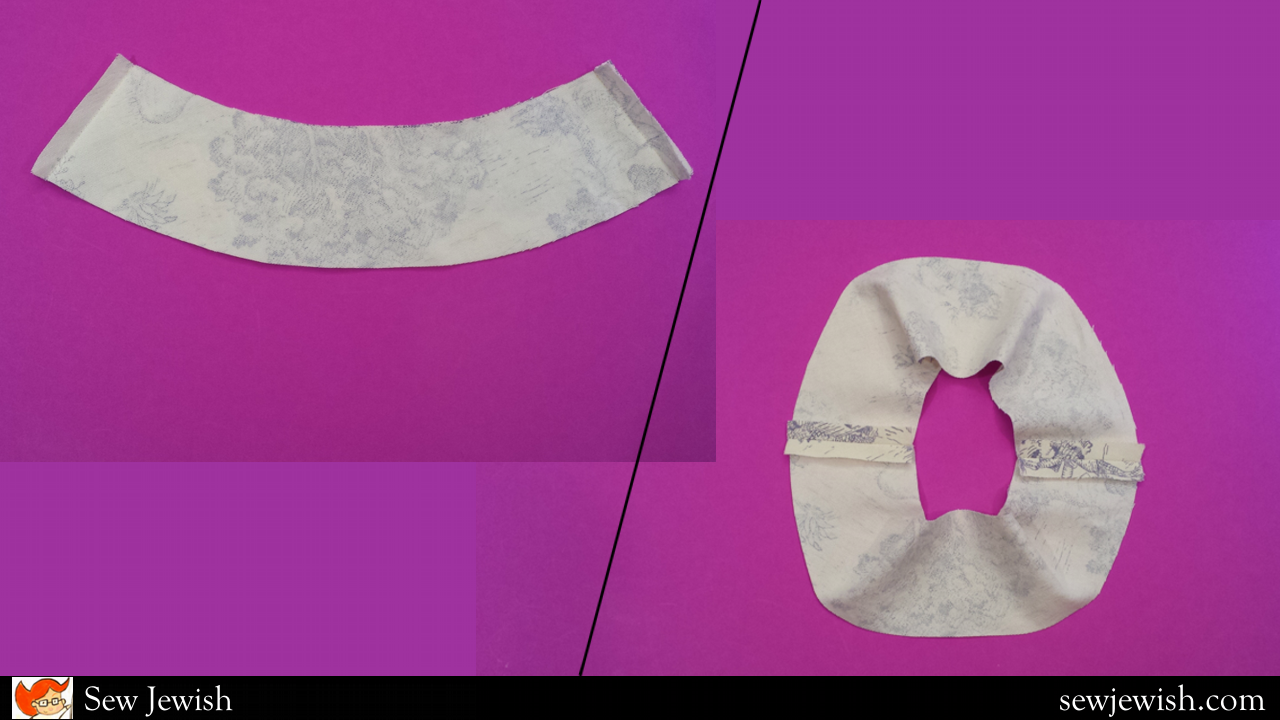
With right sides together, sew the two brim pieces together along the short sides. Press the seam allowances open.
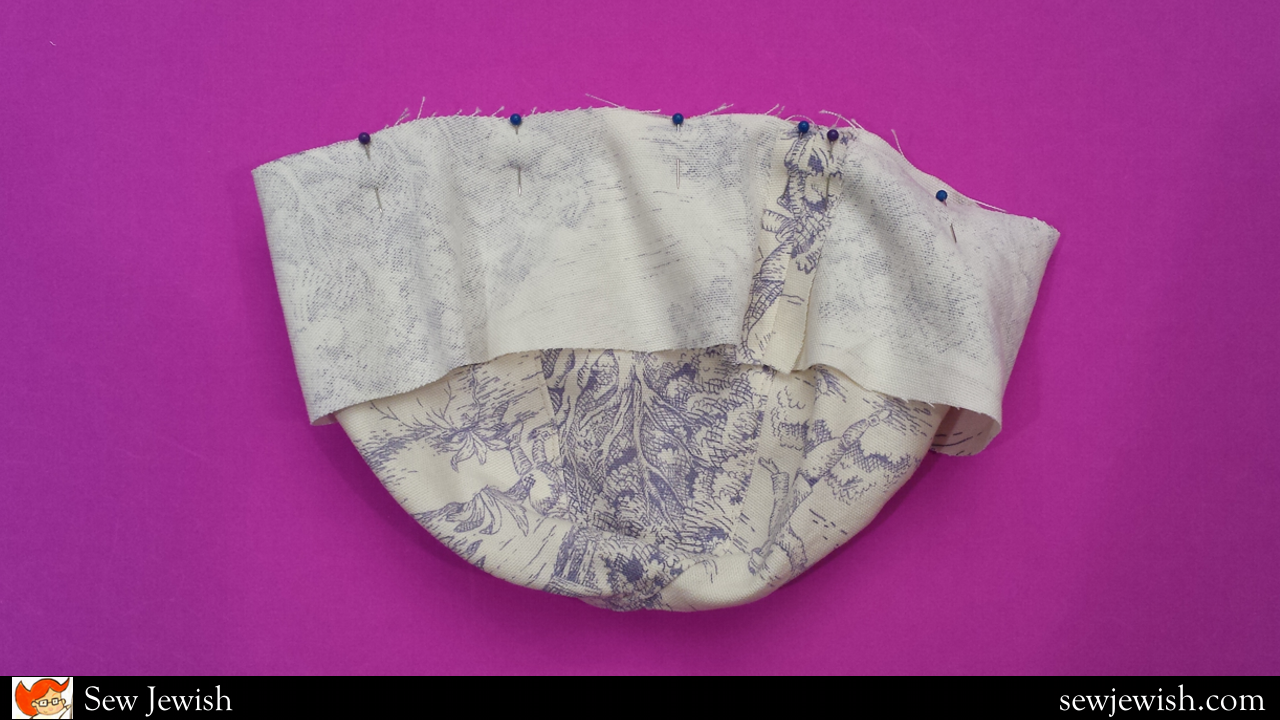
With right sides together and matching the seams of the brim to seams in the top, pin the inner edge of the brim to the top. Sew.

Press the seam allowance toward the crown. On the right side of the fabric, sew the seam allowance to the crown section of the hat 1/8″ (6mm) from the seam.
Lining
Sew the Crown pieces of the lining together in the same way as for the hat, but don’t topstitch the seam allowances. When sewing the two halves of the lining top together, leave a 2 1/2″ (6cm) opening.
Sew the Brim pieces together and attach them to the crown in the same manner as for the hat.
Put It All Together

Now the fun part: putting it all together. With right sides together, pin the lining to the hat along the outer edge of the brim. Sew around entire edge of brim.
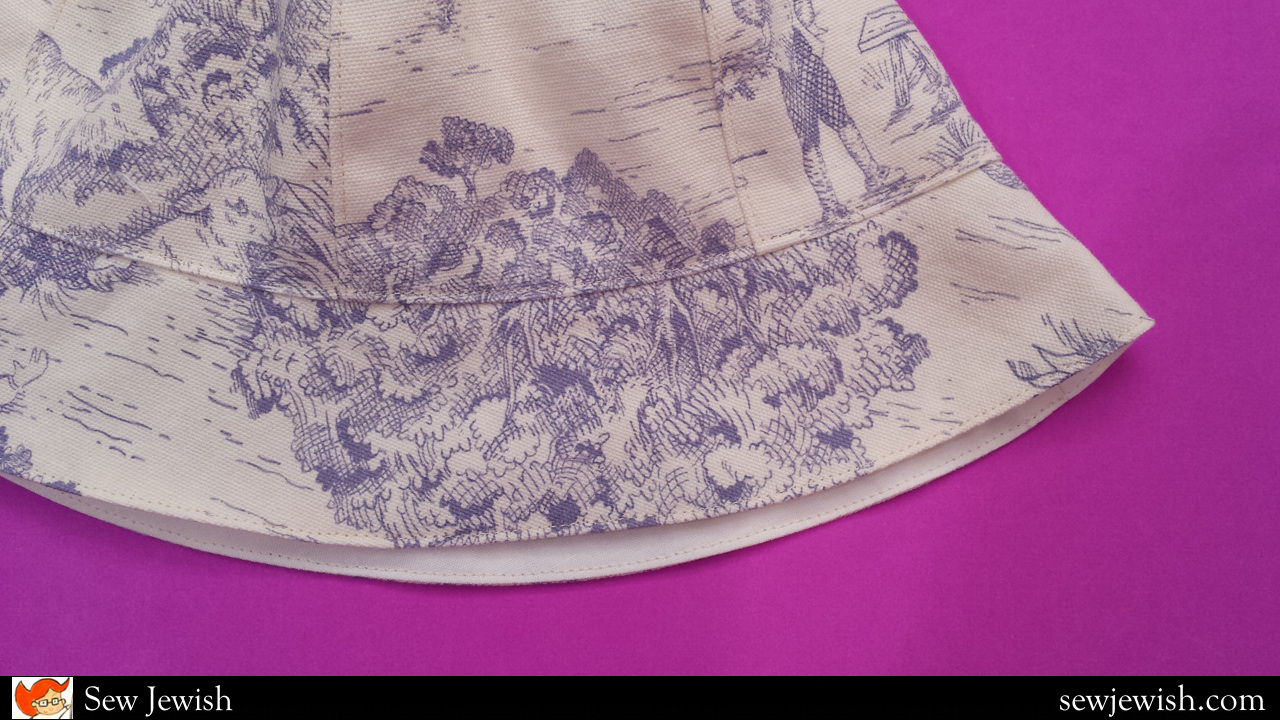
Turn the hat right side out, pulling the fabric through the opening in the lining. Press along outer brim. Sew around entire brim, 1/8″ (6mm) from the edge.
To close the opening in the lining, pin the layers of fabric together and stitch along the opening close to the edge of the fabrics.
Lovely!
Did you like this project? Please share it on Facebook or your favorite social media! Scroll down for the share buttons.
 Maria Bywater is the author of Sew Jewish: The 18 Projects You Need for Jewish Holidays, Weddings, Bar/Bat Mitzvah Celebrations, and Home. She teaches hands-on Judaica sewing workshops.
