I recently learned a new technique for starting embroidery when working with two strands of thread, and it’s so much easier and faster than the traditional way I learned that I had to share it. It also provides an easy way to anchor a French knot.
Typically, until now, when I start embroidering with a new thread I anchor the starting end of the thread by working it into the first stitches on the back of the fabric. When working with two strands, I cut two separate strands and thread them both into the needle, being sure that the twists in the two strands both run in the same direction.
With this technique, however, you use one strand of thread that is essentially folded in half to make a doubled strand. (If that doesn’t make sense, the pictures and explanation below will explain.)
It seemed a bit scandalous when I first came across it, since the twists in the two halves of the embroidery thread run in opposite directions. I came across the technique on Mary Corbett’s website Needle ‘ n Thread, though, and she’s a super pro embroiderer, so I gave it a try. When I tried it and found how fast and easy it was, I was absolutely sold.
Because you don’t have to do a lot of fiddling to anchor the beginning of the threads in your first stitches, you can get into the rhythm of the stitching much faster.
I used the technique to embroider the sample of the new mini quilt pattern, and it made the embroidery go so much faster than I was used to. It was such a joy.

Mary calls this technique the No-Knot Invisible Thread Start. I’m going to show the technique for starting three different stitches: 1) backstitch; 2) running stitch; 3) French knot.
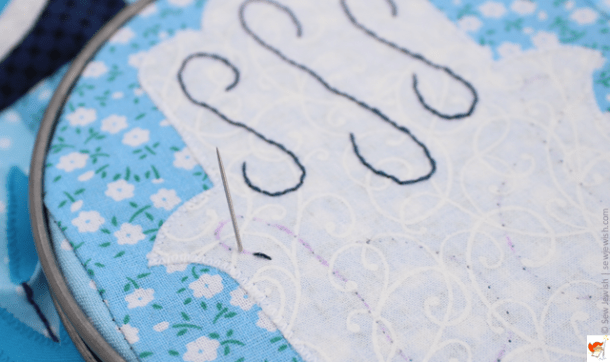
How to Start Embroidering the Backstitch
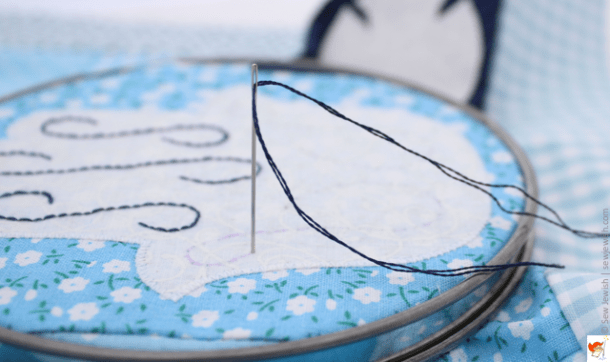
Cut a piece of embroidery thread twice the length of thread you typically work with. I cut a piece 36” long.
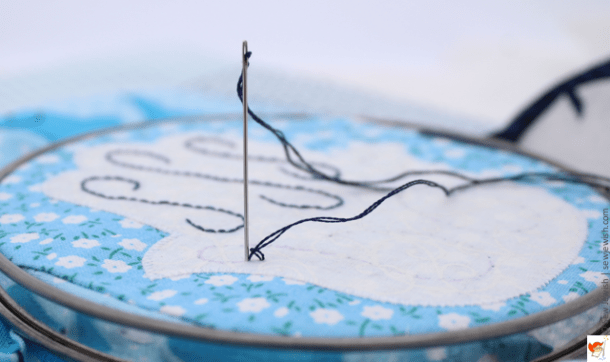
Thread the needle with one end of the thread, then bring the ends of the thread together to create a doubled thread.

Insert the needle down into the top side of the project at the start of the line to be embroidered.
Pull the thread almost all the way through to the back side of the fabric, but leave a small loop on the top of the fabric.
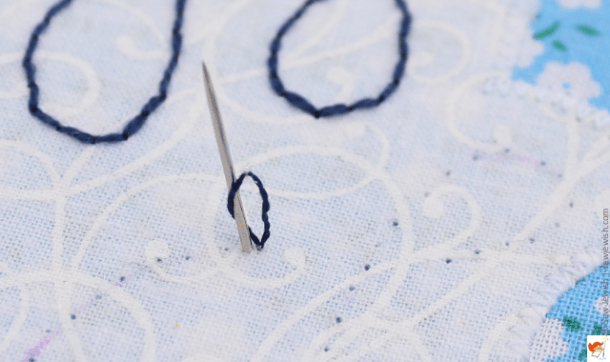
Bring the needle up through the fabric one stitch length away, and pass the needle through the loop of thread.
Pull the needle and thread up through the loop, and pull the thread so the loop of thread sits against the fabric.
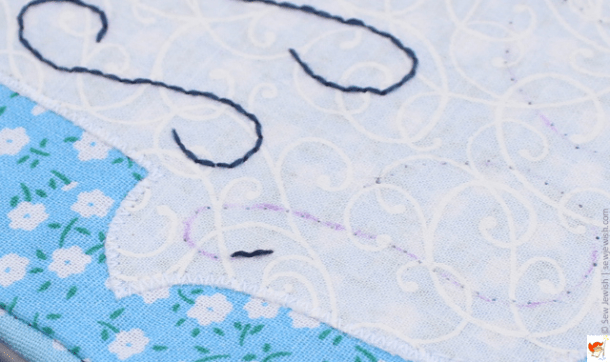
Put the needle back down through the fabric in the same spot where you just brought it up. Pull the thread all the way through.
When you’ve pulled the thread all the way to the back, give it a little tug so that the top of the loop of thread is pulled to the back of the fabric.

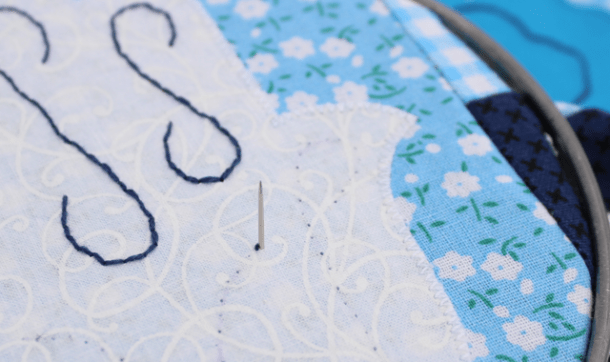
The start the next stitch, bring the needle up through the fabric one stitch length away and pull the thread through.
Put the needle down through the fabric in the same place you anchored the loop.

Pull the needle and thread through to complete the first stitch.
Continue embroidering the line.
Start the Running Stitch
Make the first anchored loop stitch the same as for the backstitch.
To make the next stitch, bring the needle up through the fabric one stitch length away.

Put the needle down one stitch length further along the line.

Pull the thread through to complete the stitch.

Continue stitching.
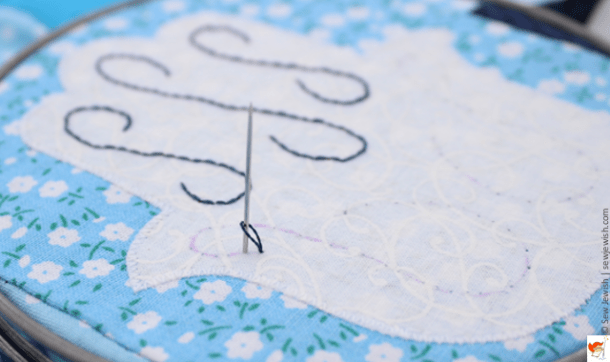
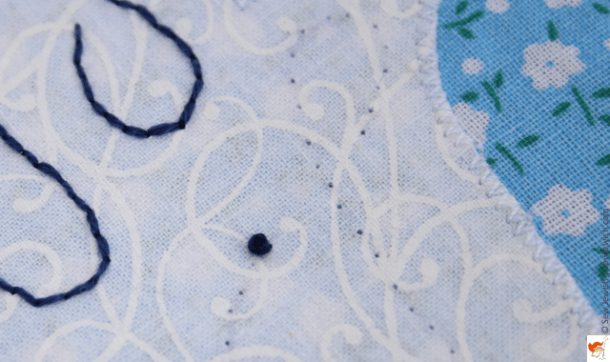
How to Anchor a French Knot
Bring the needle up through the fabric where you want to make the French knot.
Bring the needle up through the fabric close to where you inserted it, skipping only two or three of the threads of the fabric threads, depending on how thick the fabric threads are.
As with anchoring the loop for the backstitch, insert the needle in the same place as you just brought it up, and pull the thread to the back of the project. Give the thread a little tug to pull the end of the loop to the back.

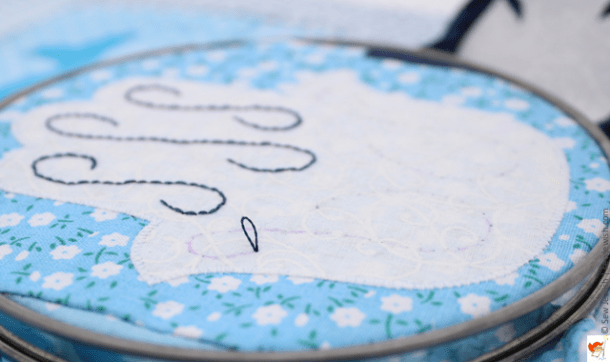
To start the French knot, bring the needle up through the fabric right next to middle of the anchored loop stitch.
Wind the thread around the needle for the French knot (remember to start with the thread in front of the horizontal needle and start winding up over the top of the needle).

Insert the needle down into the fabric on the other side of the anchor stitch so that the knot covers that stitch, and pull the needle and thread through to complete the knot.
Once you get the hang of this technique for starting to embroidery you’ll love how quickly you can anchor your embroidery thread and get to the fun of the stitching.
It’s a great technique for a project like the Sew Peace mini quilt, which uses the backstitch for lines in the hamsa, olive branch, and other elements, as well as French knots for the eyes of the dove and fish.
If you’re interested in this quilt, the pattern is available as a PDF in the shop: PDF mini quilt pattern.
