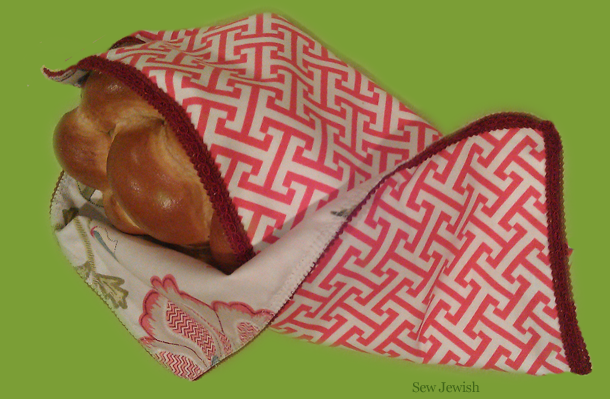
 This isn’t your grandmother’s challah cover. Well, it could be if you chose to make it with burgundy velvet and gold trim. But why not give your challah cover some zest? We juiced up our version with a raspberry-colored graphic print and a lining with an over-sized floral print featuring a splash of lime. Make a challah cover that you’ll love using: Choose fabrics that zing.
Want to know when we post new patterns and projects? Follow the blog (in the side column).
Update: We now offer a video tutorial for this project.
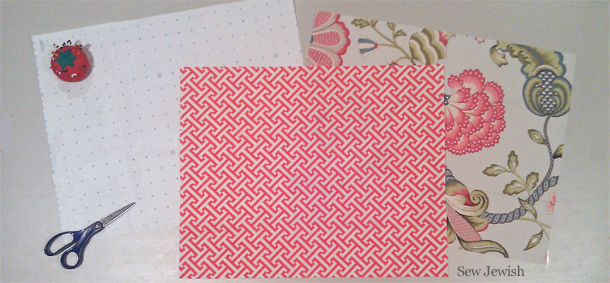
Materials
- 5/8 yards woven fabric for the cover
- 5/8 yards woven fabric for the lining
- 2¼ yards (2.2m) braid trim, at least ½” (1.2cm) wide
- Thread to match trim
- Thread to coordinate with lining
- Liquid fray stop
Challah Cover Instructions
Make a rectangle pattern 20″x16″ (50cm x 40cm). You can use pattern paper, waxed paper from the kitchen, pages ripped out of that Cadogan Guide that could have been more clear about the left-hand turn into Dougga, or whatever non-smudgy paper you have on hand.
Cut one copy from the cover fabric and one copy from the lining.
Pin the cover and lining together, wrong sides of the fabric together.
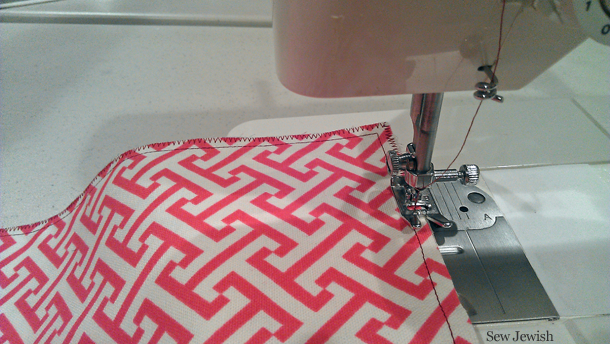
Sewing machine time. You’ll want the trim-matching thread for the top and the lining-coordinating thread in the bobbin.
Sew around the cover ¼” (7mm) from the edge. Finish the edges with zigzag stitches.
Apply fray stop to one end of the trim and let it dry.
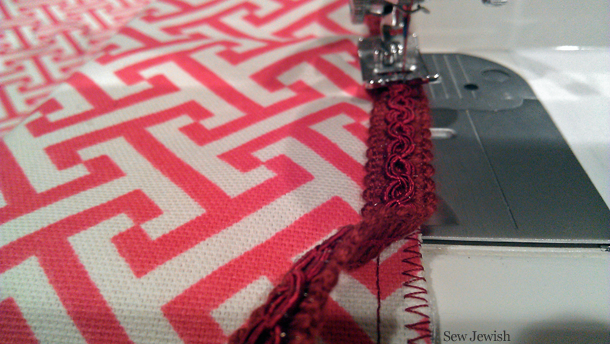
Position the trim at one corner of the cover, with the end of the trim even with one edge of the cover and the long side of the trim slightly overhanging the adjacent edge.
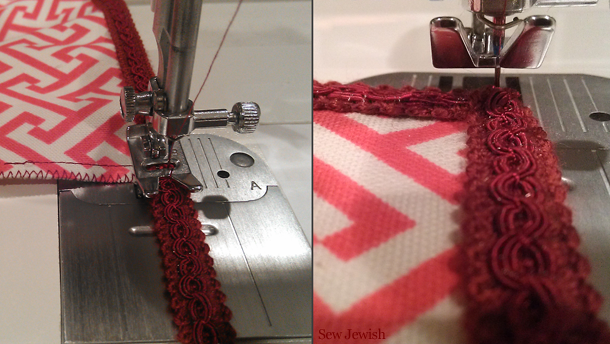
Sew the trim to the cover along the middle of the trim, using a fairly long stitch.
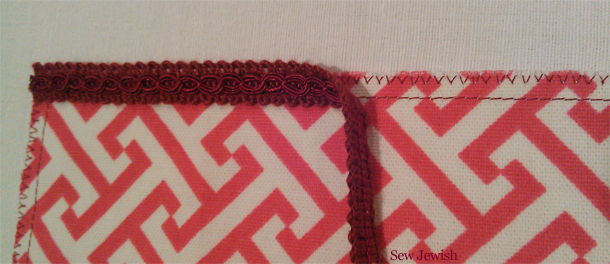
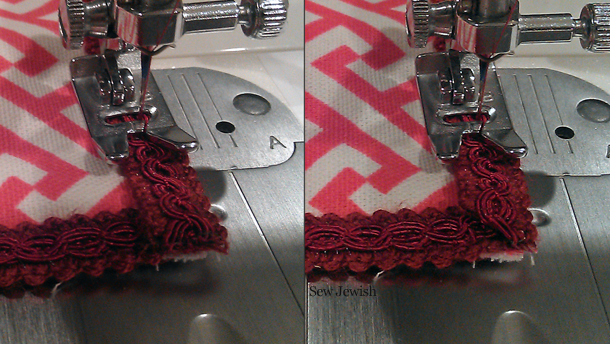
Here’s how to handle the corners: Sew close to the corner of the cover. Then, with the needle in the fabric, raise the presser foot and pivot the fabric and the trailing end of the trim toward you. Fold the excess trim under at the corner to make a diagonal fold. Walk the machine through the next few stitches, and use your hands to help ease the cover forward.
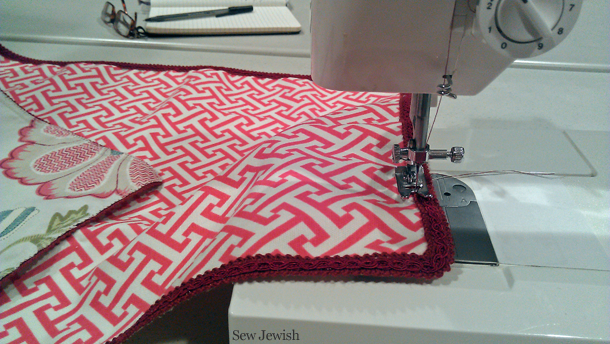
When you are about 1½” from the end, cut the trim even with the end of the fabric. Apply fray stop to the end of the trim and let it dry. Fold the end of the trim under along a diagonal line from the corner. Finish sewing the trim to the cover.
To finish, sew again along the inner edge of the trim.
Done! Absolutely lovely.
Want to know when we post new patterns and projects? Follow the blog (top of the right-hand column of the page).
See the video tutorial
Comments: Sorry, we had to close the Comments section on this post because it was getting a lot of spam. If you’d like to leave a comment on this post, please leave it on the About page. We’ll see it there. Sorry for the inconvenience.
