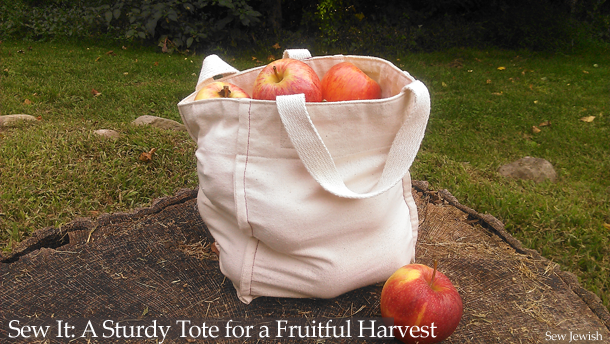
 Just in time for Sukkot, we offer this pattern for a hardy reusable shopping bag. This sturdy tote will last longer than most reusable shopping bags you’ll find, and it stands up to a good sanitizing wash. It’s the perfect size for carrying apples and other treats freshly harvested from the farmers market, orchard, or grocery store. We made ours from organic cotton.
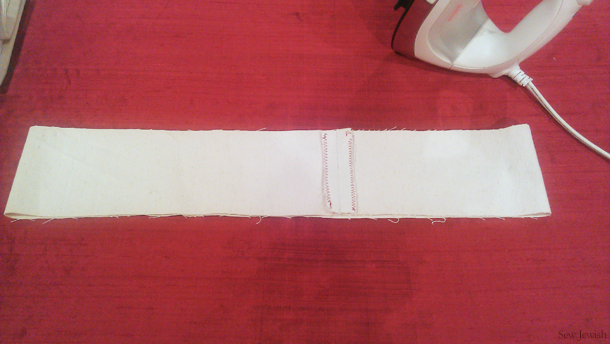
A nice detail: The technique used to sew the load-bearing seams hides the seam allowance between two rows of stitching, so you get seams that are both neat and strong.
Pro fruit picking tip: Our favorite orchard, Lawrence Farms in Newburgh, New York keeps a refrigerator case of kosher ice creams at the snack bar. Score.
Want to know when we post new patterns and projects? Follow the blog (on the side column).
Finished size: 10¼” x 8¼” x 5¼”, big enough for about two dozen apples.
Materials
- 5/8 yd. (50 cm) heavy cotton or cotton/poly twill or duck at least 32″ (80cm) wide. Don’t use a stretch fabric. (Wash and dry the fabric to pre-shrink it.)
- 7/8 yd. (80cm) heavy cotton twill tape, 1″ (2.5cm) wide
- Thread (We used a contrasting thread for the side seams and a coordinating thread to finish the top, but you can mix it up as you see fit.)
- Transfer paper
- Erasable fabric marker (optional)
Tip: We found our organic cotton fabric and twill tape at Near Sea Naturals.
Instructions to Sew Reusable Shopping Bag
Print the pattern, making sure that the printing settings are set to a print size of 100% or actual size. Cut two Side pieces from fabric, one Facing, and one Main piece. Transfer all dots and line markings to the fabric pieces.
Sew the Sides to the Bag
Pin one Side piece to the Main piece along the Side’s two long edges, right sides of the fabric together, matching the dots and the top edges.
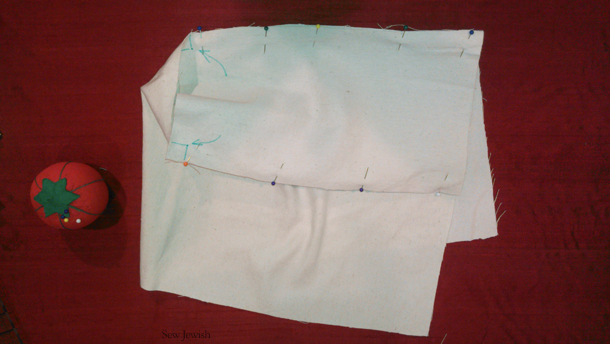
Sew between the lines and the top edges, using a ¼” (6mm) seam allowance (leave the bottom edge open during this step).

Pin the fabric pieces together along the bottom edge between the lines, beginning in the middle and working toward the corners. The fabric isn’t going to lie flat at the corners. At this point, with the corners not lying flat, you might be saying to yourself, “I don’t know, this doesn’t look right.” But keep going. You’re going to end up with a nice strong seam.
Sew the bottom edge between the lines using a ¼” (6mm) seam allowance.

Clip the corners of the side piece.

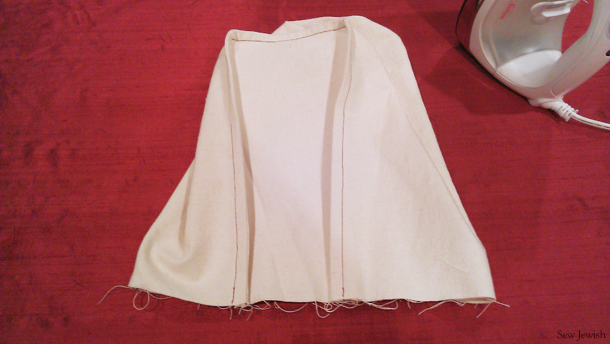
Turn the bag right-side out. Turn the side seams out fully, right to the stitches, and press the seams flat. Pin.

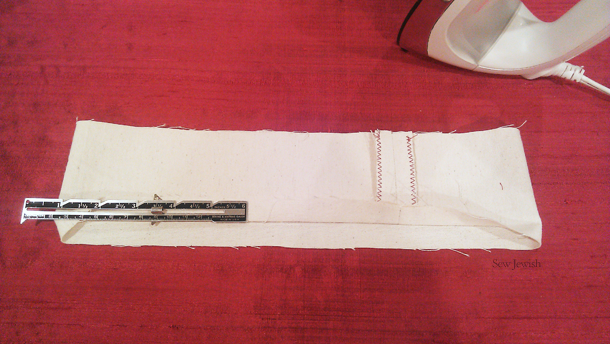
With the Main fabric piece lying on top and the Side fabric as the bottom layer, sew along each side seam, 3/8″ (1cm) from the edge. How to work the corners: With the needle in the fabric, pick up the presser foot, pivot the fabric, and lower the presser foot again before sewing the next side. Spread out wrinkles in the top fabric as you go, using the hand wheel if it’s helpful to take only a few stitches at a time.
Sew the other Side to the Main piece in the same way. Press the seam allowances toward the Sides.
Attach the Handles
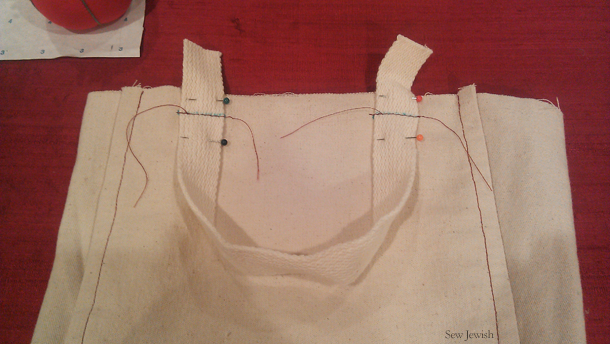
Cut two 15″ (38cm) -long pieces of twill tape. Use an erasable fabric marker or pencil to draw lines across the tape 2″ (5cm) in from each end.
Pin the handle ends to the top of the bag between the dots, with the ends of the handles extending above the edge of the bag, and matching the lines and dots.
Baste the handle ends to the bag across the lines.
Prepare Facing
Bring the two short ends of the Facing together, wrong side of the fabric facing out. Sew the ends together using a 5/8″ (1.5cm) seam allowance. Finish the edges with zigzag stitches. Press the seam open.
Press under 5/8″ (1.5cm) along one long edge.
Sew Facing to Bag
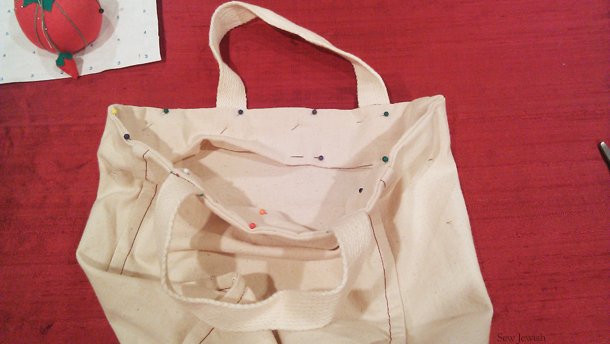
Pin the Facing to the top edge of the bag, with right sides together, raw edges even, and the Facings’s finished seam in the middle of one of the bag’s Side pieces. Be sure that the bag’s seam allowances are turned toward the Sides. If the Facing piece doesn’t fit, this could be because the width of the bag’s seams weren’t exact. Not a problem. Just unpin the Facing and adjust the length as necessary.
Sew Facing to the bag 5/8″ (1.5cm) from the raw edge.

Turn the Facing to the inside of the bag. Press. Smooth the Facing down along the inside of the bag and pin it in place, tucking the ends of the handles inside the Facing’s turned hem.
Stitch around the top of the bag, 1/8″ (7mm) from the edge. You might find it useful to walk the needle across the thicker layers of fabric. Sew the bottom edge of the Facing to the bag, 1/8″ (7mm) from the fold. Press.

Reinforce Handles
Use straight stitches to trace the rectangles and X’s to reinforce the handles. The path you take doesn’t matter, but uniformity among the four sets of stitches helps create a neat look. (When stitching each pair of rectangle and X you’ll have to stitch over one line twice to accomplish it in one continuous stitch.)

You’re done. It’s lovely!
Want to know when we post new patterns and projects? Follow the blog (on the side column).
Pattern SJ1043
